First of all, I have to say thank you to my friend Karla and her store, The Seasoned Kitchen. (http://www.theseasonedkitchen.ca/) She urged me to get a knife sharpener and am I ever thankful that she did! I could not imagine slicing 20lbs of tomatoes with a dull knife!
I use a pressure cooker for all my canning. I do this because that is how I was taught. I believe it's faster....even faster with two of them. So here is what you need to start:

- A shallow baking dish.
- A pressure cooker
- Kettle
- A small pot
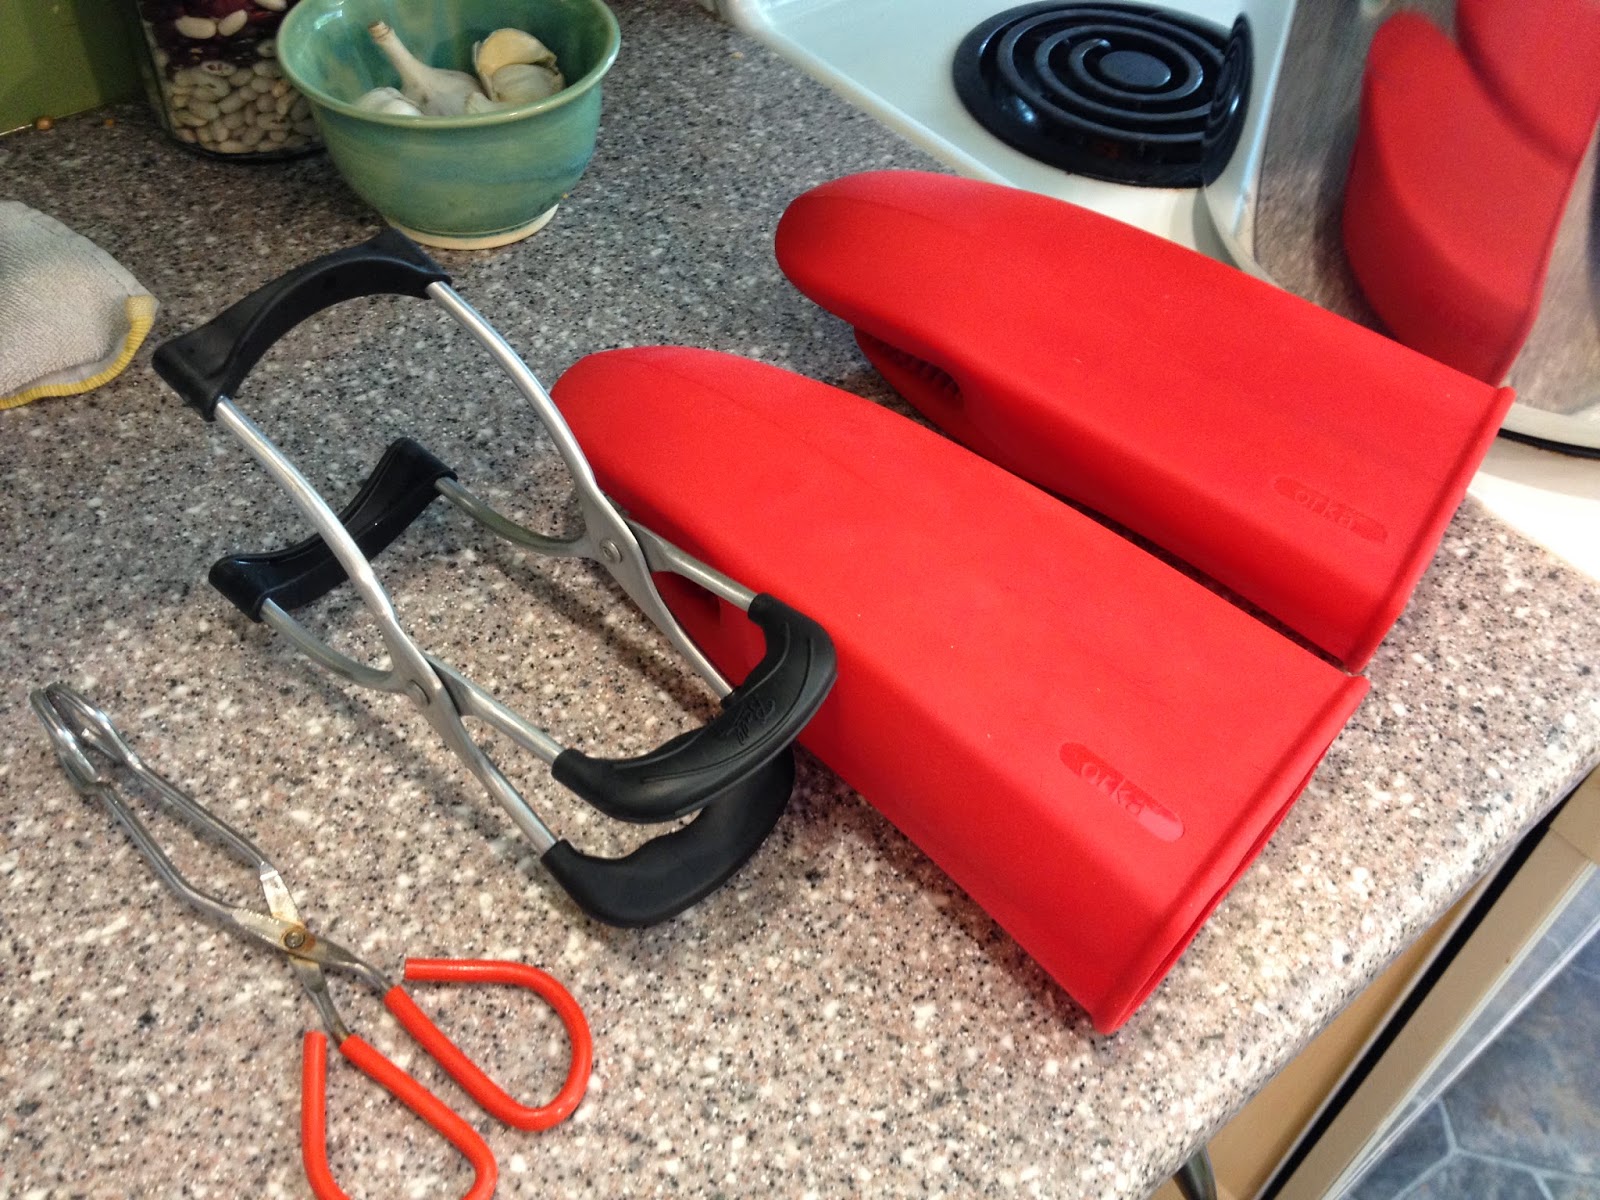
- Tongs
- A can lifter. (My technical term of course)
- Silicone oven mitts! ( I use silicone because you can get them wet and the steam wont burn you through the mitt)
- Jars with lids
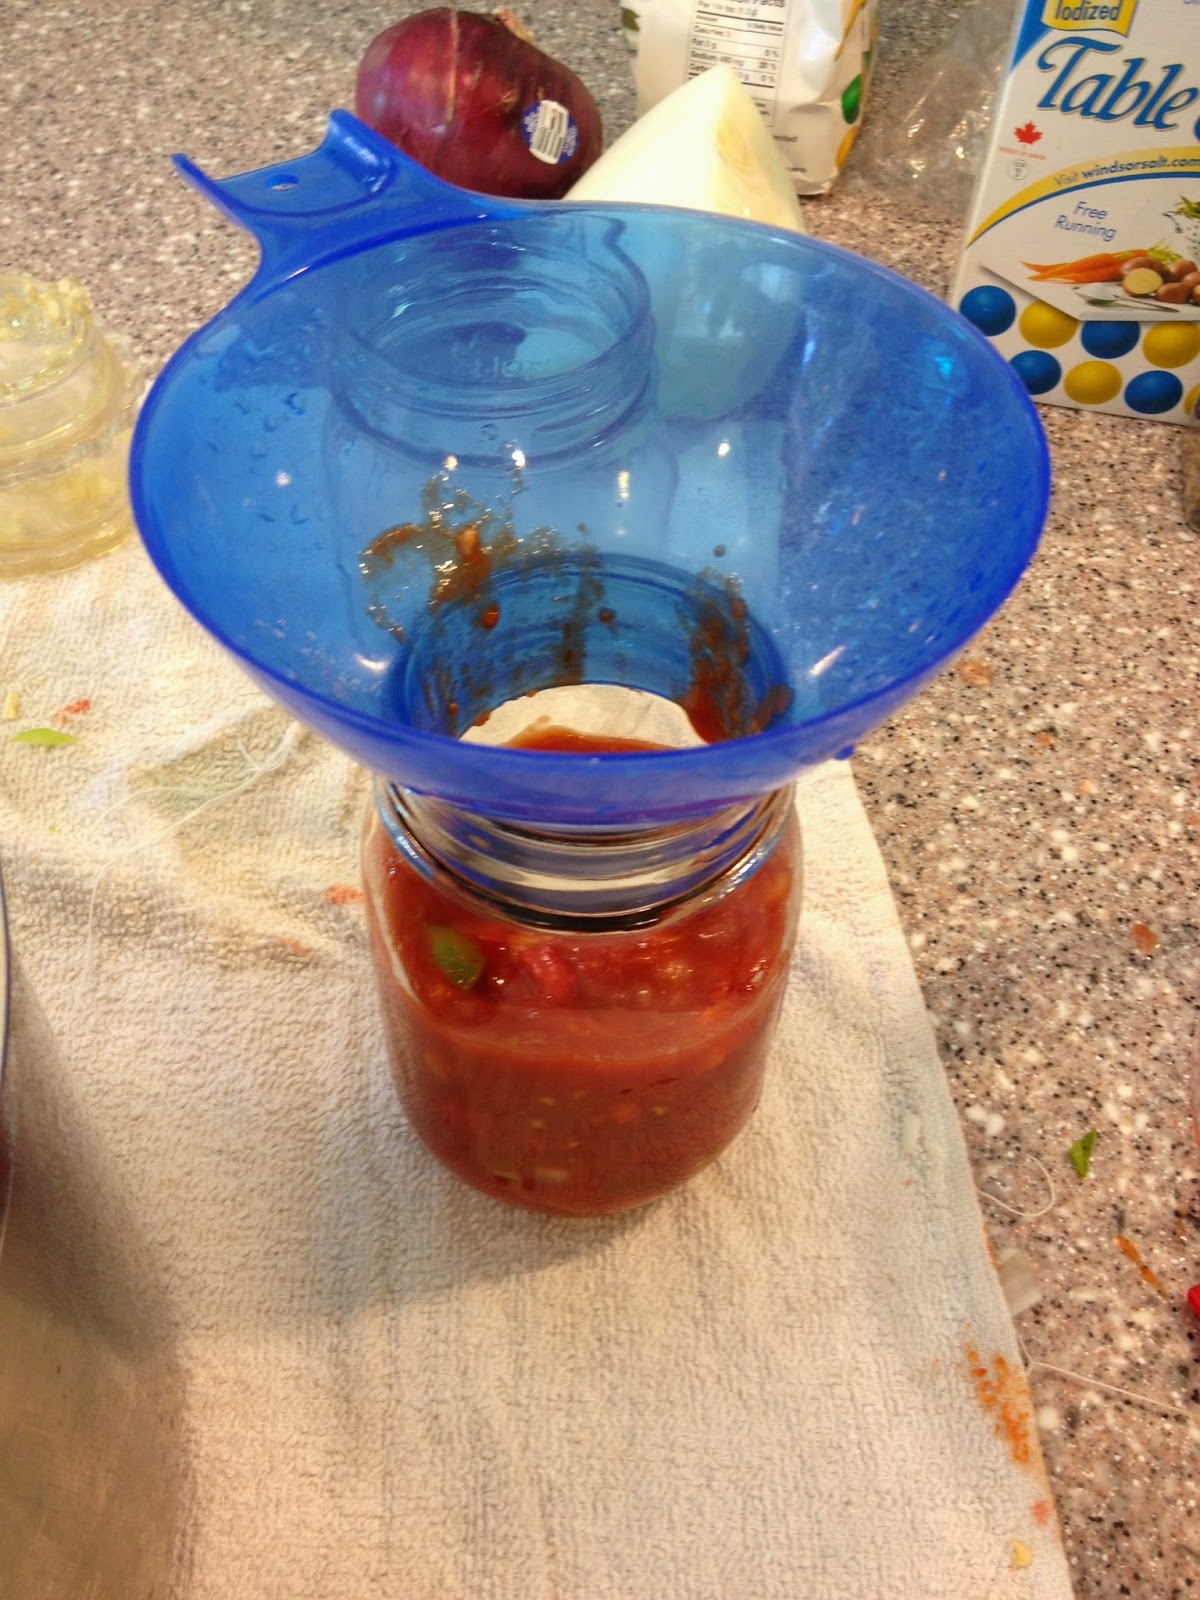
- A canning funnel
- Sharp knives!
- Old towels
- Whatever fruit, veggies, or fish you want to can!
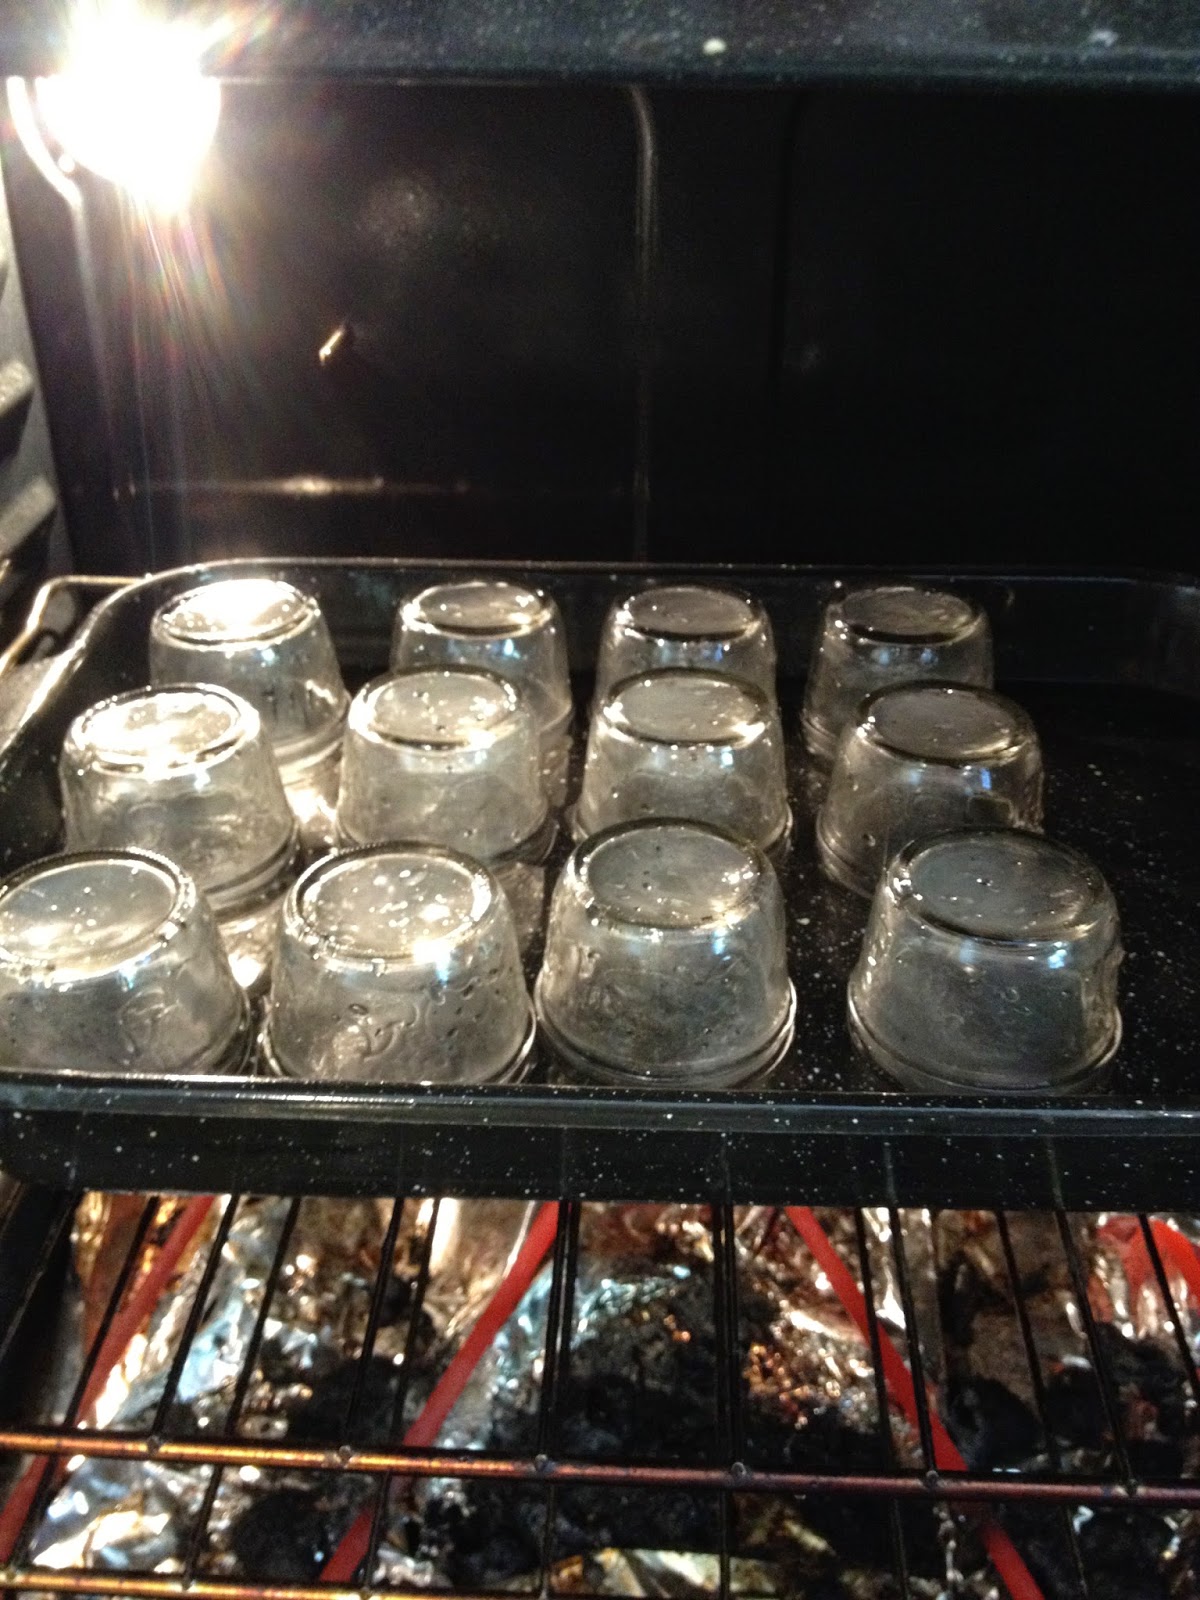
To get ready, I fill the baking dish with about an inch and a half of water, place it in a 200degree oven. This is where I put the washed jars while they wait to be filled. (After they are washed with soap and water.)
This is when I also fill the cooker with 3 litres of boiling water and lay out my towels, one for when they come out of the canner, and one for when I am filling the jars. Now you are ready! For this, I will show you how I made pickled jalapeños. (At the end I will post a couple other recipes.)
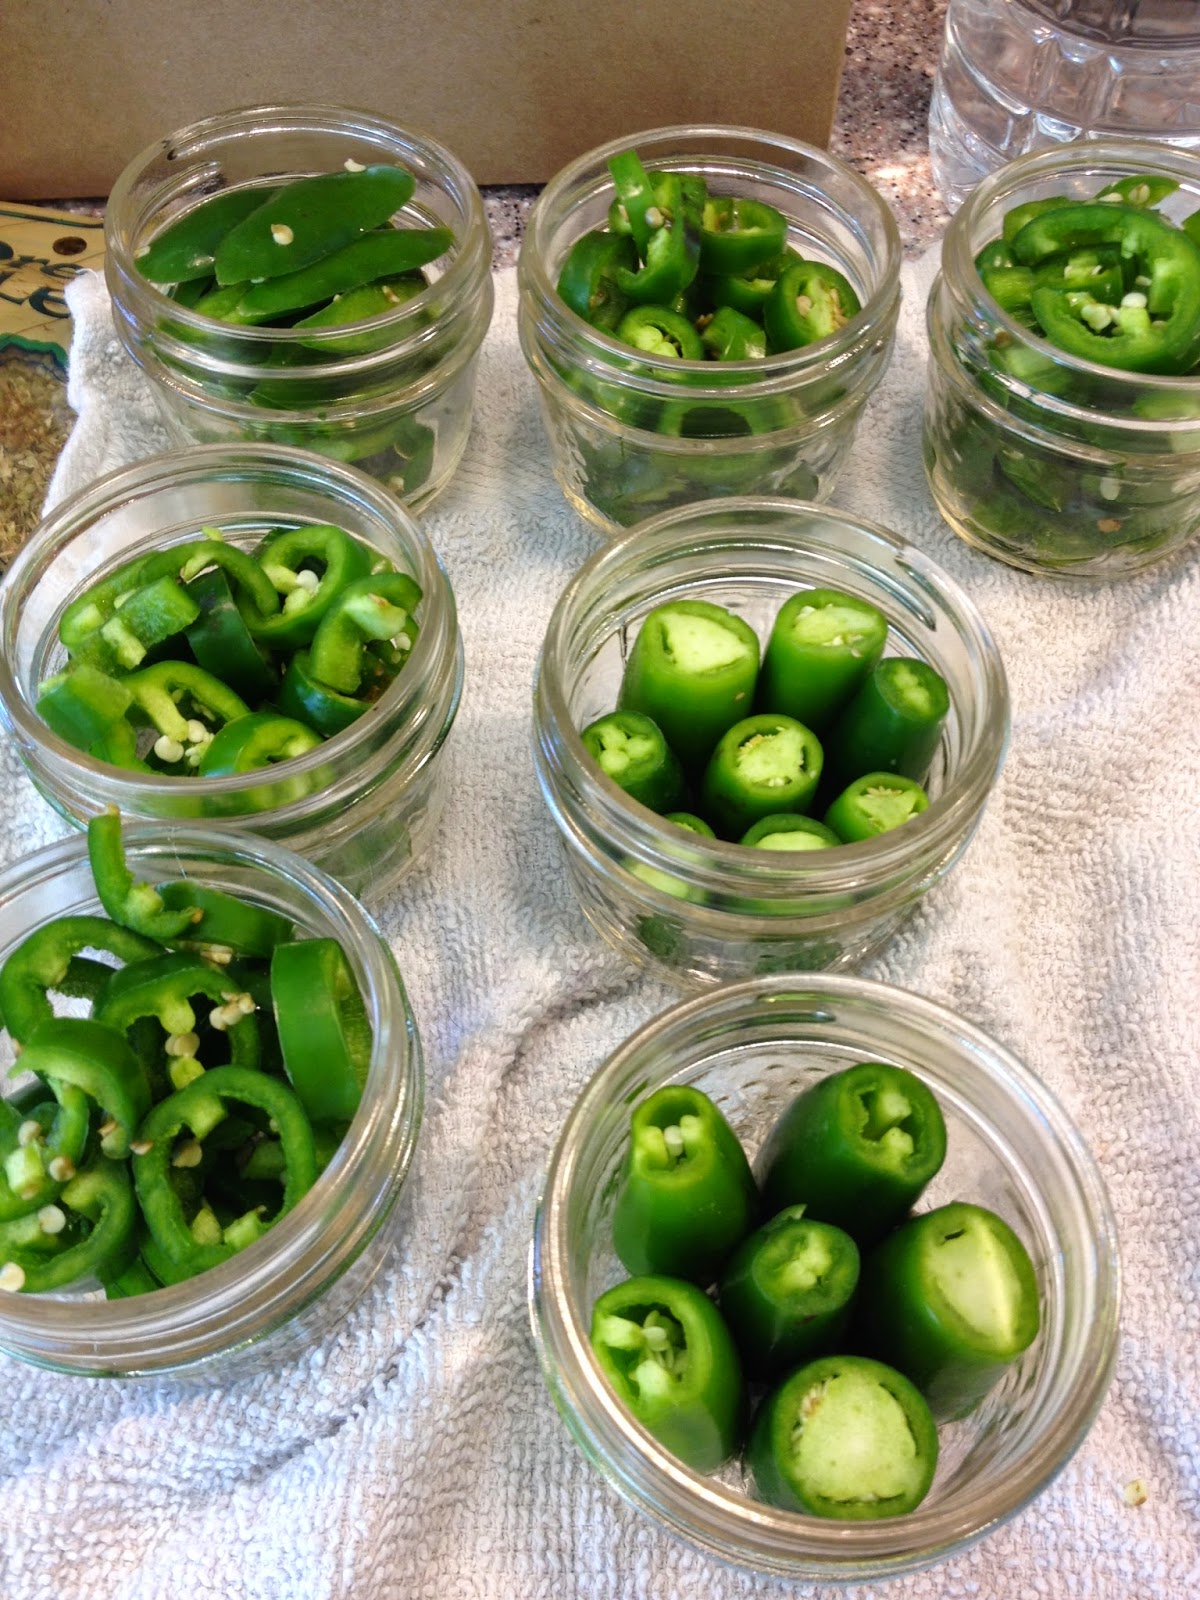
You can slice the jalapeños however you want. Just make sure you do not touch your face, or anything else, while you are slicing and handling them. Wash your hands with soap and water when you are done. If you want them to be a little on the mild side, make sure you remove any seeds and white parts. Next you are going to make the brine. I used this recipe and it was enough for 8-125ml jars.
- 2 cups white vinegar
- 2 cups water
- 2 TBSP salt
- Sliced garlic
- 1 TBSP honey
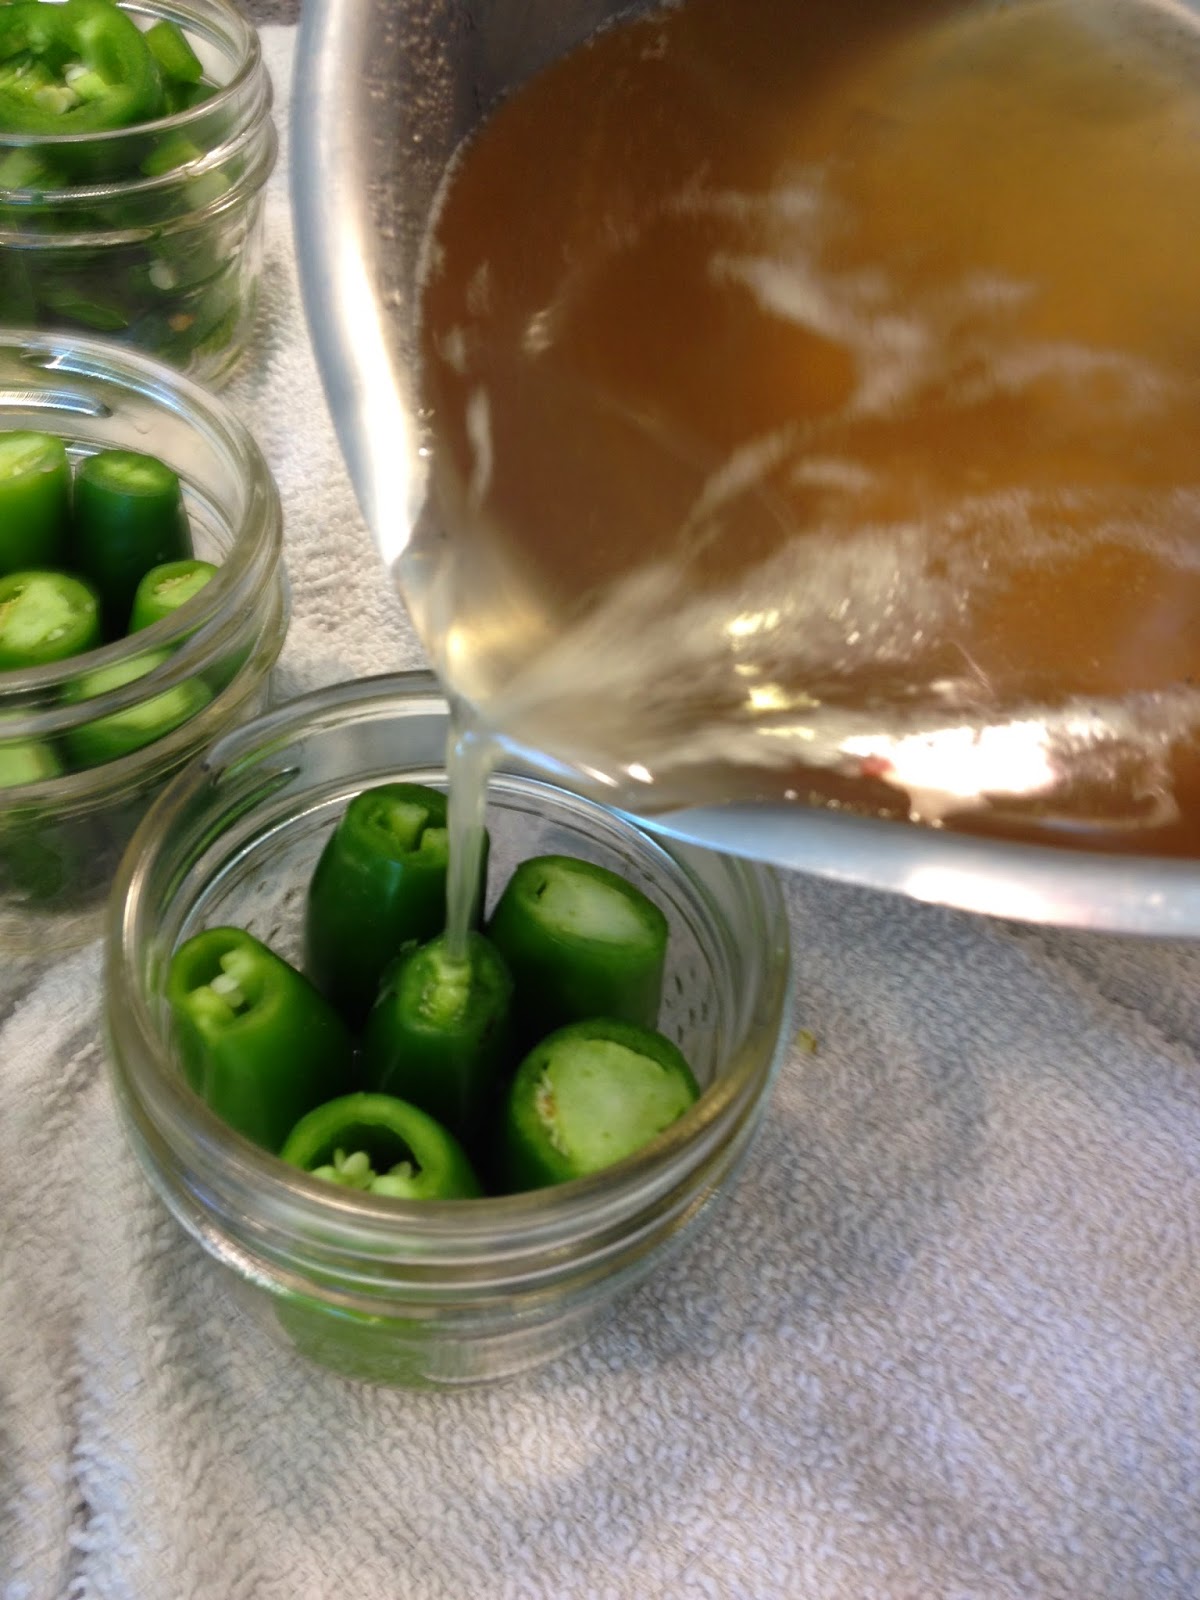
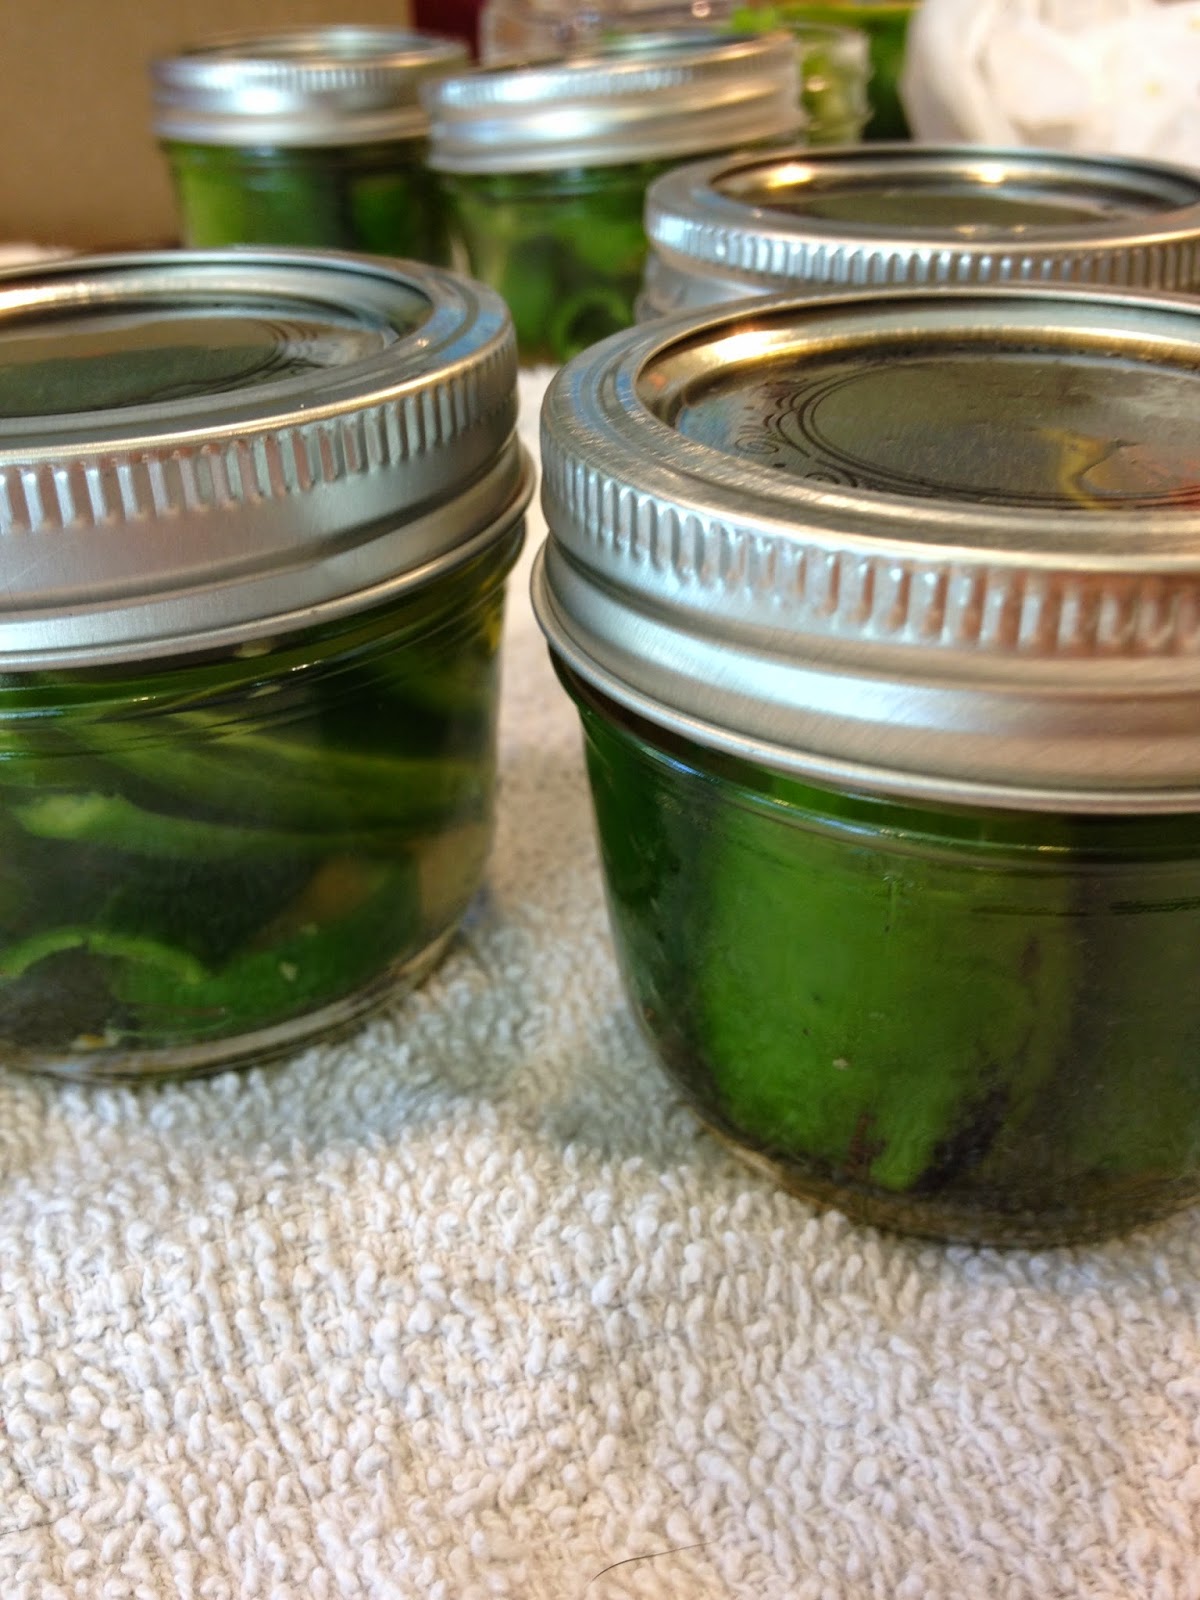
Mix everything in a pot and boil. Let simmer for 10 minutes. Once you have finished slicing, pack the jalapeños into the hot jars.
Now is when you boil your lids before you put them on the jars. I boil mine for about 5 minutes. Fill the jars with your brine, leaving about a half inch from the top. Use a knife or chopstick to poke around the jar to get any air bubbles out. Be sure to wipe the rim of the jars before placing the lids on to make sure you get a good seal. Place the rings on, not overly tight. Now you are ready to place them in the pressure cooker! For mine, it takes a total of 20 minutes to process.

Once they are done and the pressure is released from your cooker, they can be carefully removed. Place them on the towel and leave them to cool overnight before handling them. Then you can wash and store the jars.
This process is the same, whether you are doing salsa, peaches, pickles...whatever. Just the recipes change.
Peaches:
For peaches, there are lot of recipes out there that say you have to make a syrup. I find this to be a waste of time. I always peel, pit and slice them, pack the jar full, put in a 1/4 cup of sugar per one pint jar, and fill with boiling water. (I use a butter knife in the jar when I pour the water in.) That is all. The peaches turn out amazing and fresh! You could also add brandy if you want.
Salsa:
- 8 cups diced tomatoes (I used Roma)
- 2 1/2 cups diced green onion
- 1 1/2 cups diced green peppers
- 1 jalopeno
- 6 cloves of garlic, diced
- 2 tsp cumin. I have also used 3 TBSP of Epicure's seasoning for Chipotle, Bacon and Cheddar dip. It adds a nice smoky flavour.
- 2 tsp pepper
- 1/8 cup canning salt (Course salt)
- 1/4 cup sugar
- 1/3 cup vinegar
- 1 can tomato sauce
- 2- 5.5oz cans of tomato paste.
Mix everything in a giant pot and bring to a boil. Let simmer for 10-15 minutes. Fill hot jars and process.


Happy Canning!!!
No comments:
Post a Comment